Hibachi-Style Fried Rice
Bring the taste of your favorite hibachi restaurant to your kitchen with this Hibachi-Style Fried Rice recipe! In just 35 minutes, you can create a savory, vibrant dish that’s perfect for any occasion—be it a family dinner, a casual gathering, or even a quick weeknight meal. This recipe beautifully combines cold day-old rice with fresh vegetables, scrambled eggs, and a rich butter-soy sauce mixture to deliver an irresistible umami flavor. Customize it with your favorite proteins or veggies to make it truly your own. Enjoy the simplicity and deliciousness of homemade hibachi-style fried rice today!

Why You’ll Love This Recipe
- Quick and Easy: This dish can be ready in just 35 minutes, making it perfect for busy weeknights.
- Flavorful Umami: The combination of butter and soy sauce creates a rich flavor that satisfies your cravings.
- Customizable: Add your choice of proteins like chicken, shrimp, or tofu to personalize your meal.
- Vegetable Packed: Incorporate a variety of vegetables for added nutrition and color.
- Perfect for Leftovers: Use day-old rice for the best texture and flavor, reducing food waste.
Tools and Preparation
Before you start cooking your Hibachi-Style Fried Rice, gather the necessary tools. Having everything ready will streamline the process.
Grab This Chef Knife Now - Almost Gone!
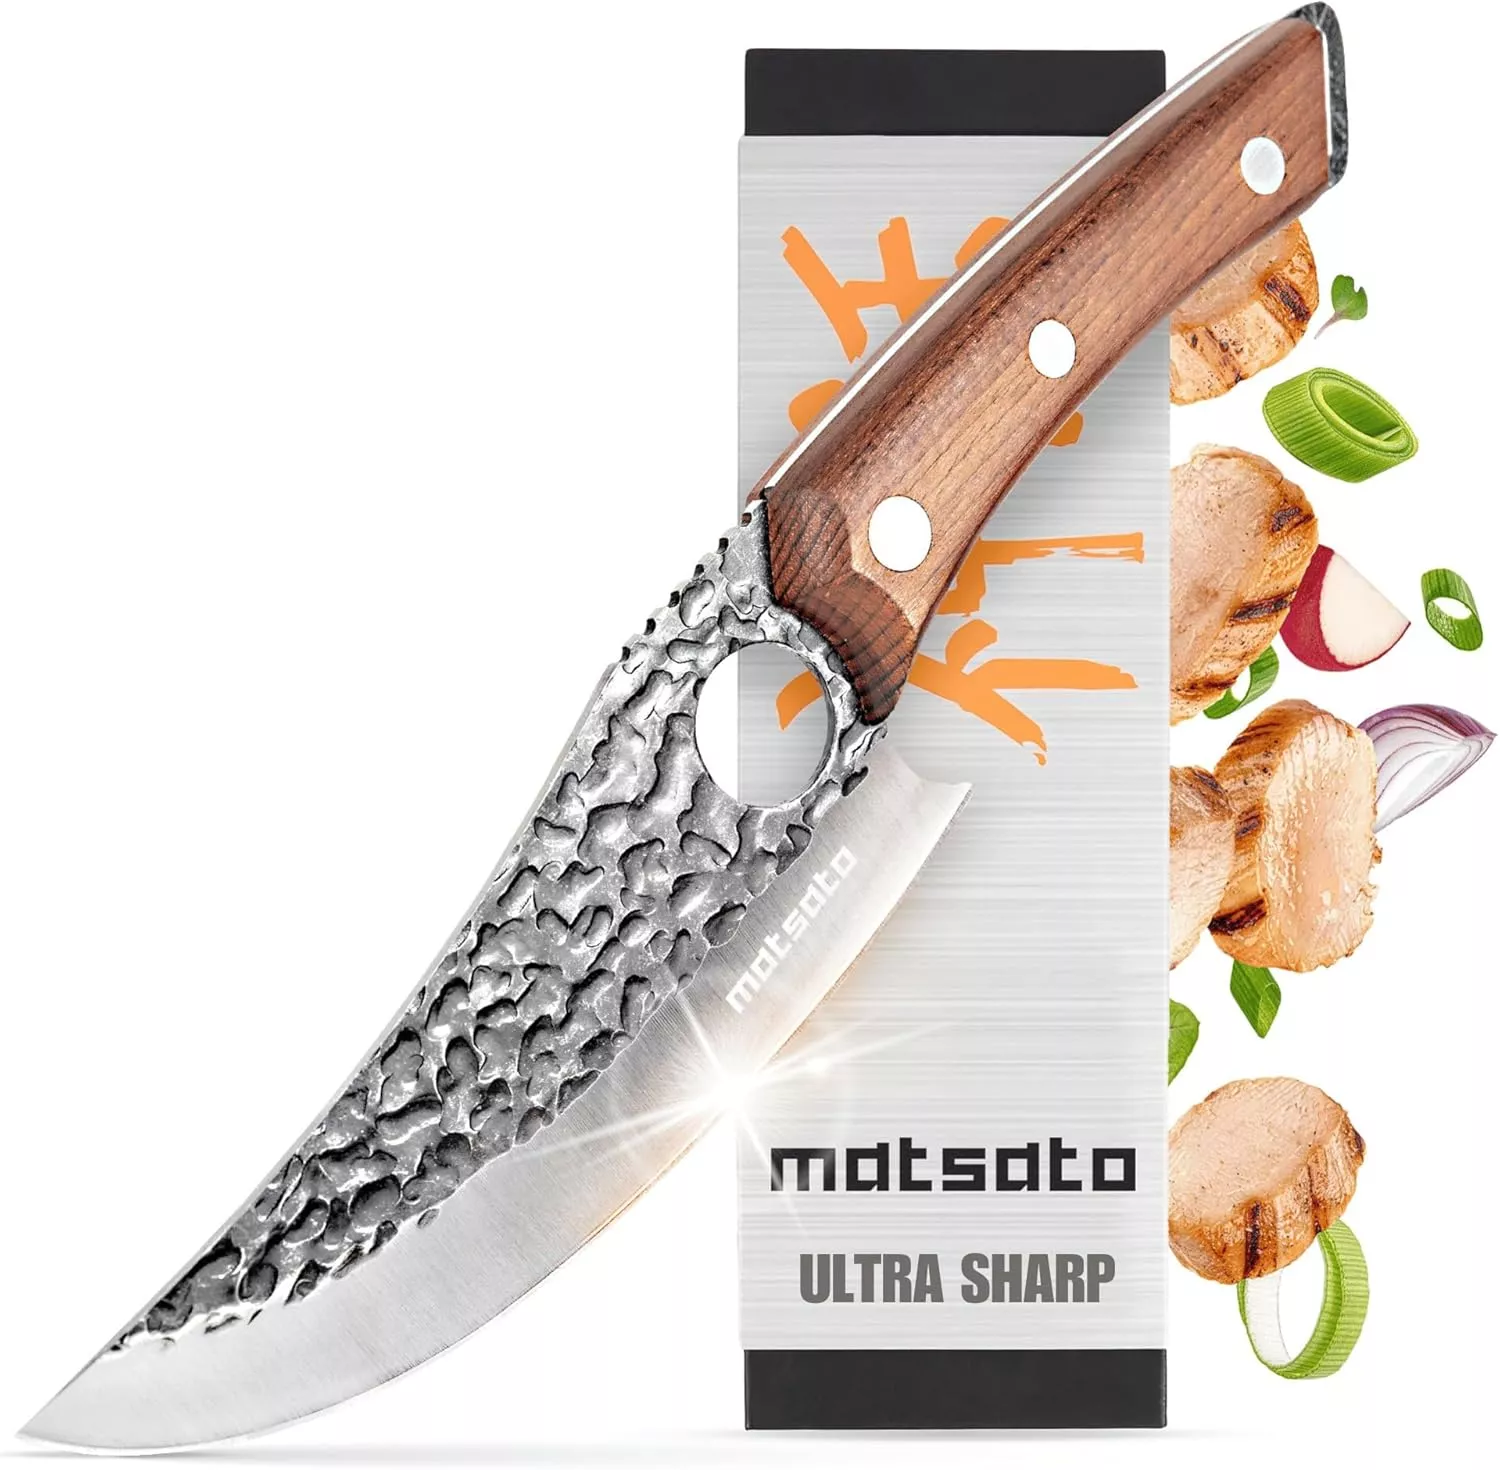
- Stays Razor-Sharp: Ice-hardened blade keeps its edge longer than ordinary knives
- Superior Grip Control: Unique finger hole design gives you perfect balance and safety
- Built to Last a Lifetime: Premium stainless steel blade with elegant beech wood handle
Customer Reviews ★★★★★
Essential Tools and Equipment
- Large skillet or wok
- Spatula
- Mixing bowl
- Knife and cutting board
Importance of Each Tool
- Large skillet or wok: Provides ample space for even cooking and stir-frying of ingredients.
- Spatula: Essential for mixing ingredients without damaging the rice.
- Mixing bowl: Great for combining sauces or prepping ingredients before cooking.
Ingredients
For the Base
- 4 cups cooked short-grain white rice (cold)
- 1 egg
For the Vegetables
- 1/2 cup chopped carrots
- 1/2 cup frozen peas
- 1/2 cup diced white onion
For the Sauce
- 4 tablespoons unsalted butter
- 2 tablespoons low-sodium soy sauce
- 2–3 tablespoons neutral oil (like canola)
- Optional: 2 teaspoons sesame oil for extra flavor
How to Make Hibachi-Style Fried Rice
Step 1: Prepare the Rice
Prepare rice by cooking ahead and chilling it for at least one hour. This helps achieve the right texture when frying.
Step 2: Make the Sauce
In a bowl, combine softened butter with soy sauce. Mix until well blended.
Step 3: Scramble the Egg
In heated oil within your skillet, scramble the egg. Once cooked through, set it aside.
Step 4: Sauté Vegetables
Sauté carrots, peas, and onions in remaining oil until they are tender. Set them aside once done.
Step 5: Fry the Rice
In the same skillet, add cold rice and fry it until golden brown. Stir frequently to ensure even cooking.
Step 6: Combine Ingredients
Mix in the butter-soy sauce until all rice is well-coated with flavor.
Step 7: Final Touches
Combine scrambled egg and sautéed veggies into the rice before serving. Enjoy your Hibachi-Style Fried Rice hot!
How to Serve Hibachi-Style Fried Rice
Serving Hibachi-Style Fried Rice can elevate your meal experience. This versatile dish pairs well with a variety of proteins and garnishes that complement its rich flavors.
Pair with Protein
- Grilled Chicken: Tender, marinated chicken breast adds a juicy dimension.
- Shrimp: Quick-cooked shrimp brings a delightful seafood twist.
- Tofu: For a vegetarian option, sautéed tofu absorbs the flavors beautifully.
Add Fresh Garnishes
- Green Onions: Sliced green onions provide a fresh crunch.
- Sesame Seeds: Toasted sesame seeds enhance both flavor and presentation.
- Sriracha Sauce: A drizzle of sriracha adds a spicy kick for those who like heat.
Serve with Soup
- Miso Soup: A warm bowl of miso soup makes for a comforting side.
- Clear Broth Soup: A light broth helps balance the richness of fried rice.
Create a Hibachi Plate
- Mixed Vegetables: Grilled zucchini, bell peppers, and mushrooms pair well for color and nutrition.
- Salad: A simple cucumber salad can provide freshness and crunch.

How to Perfect Hibachi-Style Fried Rice
To achieve the best Hibachi-Style Fried Rice, follow these helpful tips for an authentic taste and texture.
- Use Day-Old Rice: Cold, day-old rice prevents clumping and ensures each grain fries evenly.
- Preheat Your Skillet: A hot skillet helps achieve that signature fried texture quickly.
- Avoid Overcrowding: Fry in batches if necessary to ensure even cooking without steaming the rice.
- Customize Flavors: Experiment with different soy sauces or additions like garlic for personal touches.
- Finish with Butter: Adding butter at the end enhances richness and flavor depth.
- Garnish Creatively: Use vibrant toppings like cilantro or lime wedges to elevate presentation.
Best Side Dishes for Hibachi-Style Fried Rice
Complementing your Hibachi-Style Fried Rice with the right side dishes can enhance your meal. Here are some excellent options to consider.
- Edamame: Lightly salted steamed edamame makes for a healthy, protein-rich snack.
- Japanese Pickles (Tsukemono): These tangy pickles provide a refreshing contrast to the savory rice.
- Tempura Vegetables: Crispy tempura offers crunchy textures that pair well with fried rice.
- Seaweed Salad: This flavorful salad adds umami and is great for balancing the dish’s richness.
- Gyoza: These dumplings filled with meat or vegetables serve as a delightful appetizer.
- Teriyaki Chicken Wings: Sweet and savory wings make an irresistible finger food option.
- Cabbage Salad: Crunchy cabbage dressed in sesame vinaigrette offers freshness on the plate.
- Miso Glazed Eggplant: Roasted eggplant coated in miso glaze brings deep flavor and complements the rice beautifully.
Common Mistakes to Avoid
When making Hibachi-Style Fried Rice, avoiding common pitfalls can enhance the flavor and texture of your dish. Here are some mistakes to steer clear of:
- Using hot rice: Cold, day-old rice is best for frying as it prevents clumping. Cook your rice a day in advance or chill it for at least an hour before cooking.
- Overcrowding the pan: Adding too many ingredients at once can lower the skillet’s temperature, resulting in steaming instead of frying. Work in batches if necessary.
- Using low-quality soy sauce: A good soy sauce adds depth to your dish. Opt for low-sodium soy sauce for better control over saltiness while still achieving flavor.
- Skipping the vegetables: Vegetables contribute not only flavor but also texture and nutrition. Don’t skip them; include a mix of your favorites for added color and taste.
- Not seasoning properly: Ensure you mix in enough butter-soy sauce to coat all the ingredients evenly. Taste and adjust as needed to enhance flavors.

Storage & Reheating Instructions
Refrigerator Storage
- Store Hibachi-Style Fried Rice in an airtight container.
- It will keep well in the refrigerator for up to 4 days.
Freezing Hibachi-Style Fried Rice
- Use freezer-safe bags or containers to prevent freezer burn.
- The fried rice can be frozen for up to 3 months.
Reheating Hibachi-Style Fried Rice
- Oven: Preheat to 350°F (175°C). Spread rice on a baking sheet, cover with foil, and heat for about 15 minutes.
- Microwave: Place rice in a microwave-safe bowl, cover with a damp paper towel, and heat in intervals of 1-2 minutes until warmed through.
- Stovetop: Heat a little oil in a skillet over medium heat, add the rice, and stir until heated thoroughly.
Frequently Asked Questions
Here are some common questions about Hibachi-Style Fried Rice that might help you perfect your dish.
What type of rice is best for Hibachi-Style Fried Rice?
Short-grain white rice is ideal because it holds moisture well and becomes tender during cooking.
Can I customize my Hibachi-Style Fried Rice?
Absolutely! You can add proteins like chicken, shrimp, or tofu, along with any vegetables you prefer.
How can I make my Hibachi-Style Fried Rice vegetarian?
Simply omit any meats and utilize plant-based proteins like tofu or tempeh along with plenty of colorful vegetables.
Is Hibachi-Style Fried Rice gluten-free?
To make it gluten-free, use tamari instead of soy sauce. Always check labels to ensure other ingredients are gluten-free.
Final Thoughts
Hibachi-Style Fried Rice is an incredible dish that brings restaurant-quality flavors into your home kitchen. Its versatility allows you to customize it with various proteins and veggies according to your preferences. Whether it’s a cozy weeknight meal or part of a festive gathering, this recipe promises satisfaction and deliciousness every time. Give it a try today!

Hibachi-Style Fried Rice
- Total Time: 35 minutes
- Yield: Serves 4
Description
Bring the vibrant flavors of your favorite hibachi restaurant right to your kitchen with this delightful Hibachi-Style Fried Rice recipe. In just 35 minutes, you can whip up a savory dish that’s perfect for any occasion, from family dinners to quick weeknight meals. This recipe combines cold day-old rice with colorful fresh vegetables, scrambled eggs, and a rich butter-soy sauce mixture, delivering an irresistible umami flavor that is sure to satisfy your cravings. Customize it by adding your choice of proteins or extra veggies for a personal touch. Enjoy the simplicity and deliciousness of homemade hibachi-style fried rice today!
Ingredients
- 4 cups cooked short-grain white rice (cold)
- 1 egg
- 1/2 cup chopped carrots
- 1/2 cup frozen peas
- 1/2 cup diced white onion
- 4 tablespoons unsalted butter
- 2 tablespoons low-sodium soy sauce
- 2–3 tablespoons neutral oil (canola)
- Optional: 2 teaspoons sesame oil
Instructions
- Prepare rice by cooking ahead and chilling for at least one hour.
- Combine softened butter with soy sauce in a bowl.
- Heat oil in a skillet and scramble the egg; set aside.
- Sauté carrots, peas, and onions until tender; set aside.
- In the same skillet, fry the cold rice until golden brown.
- Mix in the butter-soy sauce until all rice is evenly coated.
- Add scrambled egg and sautéed veggies before serving hot.
- Prep Time: 10 minutes
- Cook Time: 25 minutes
- Category: Main
- Method: Frying
- Cuisine: Japanese
Nutrition
- Serving Size: 1 cup (200g)
- Calories: 380
- Sugar: 2g
- Sodium: 600mg
- Fat: 15g
- Saturated Fat: 8g
- Unsaturated Fat: 6g
- Trans Fat: 0g
- Carbohydrates: 56g
- Fiber: 3g
- Protein: 10g
- Cholesterol: 90mg


