Sugar Cookie Icing That Hardens
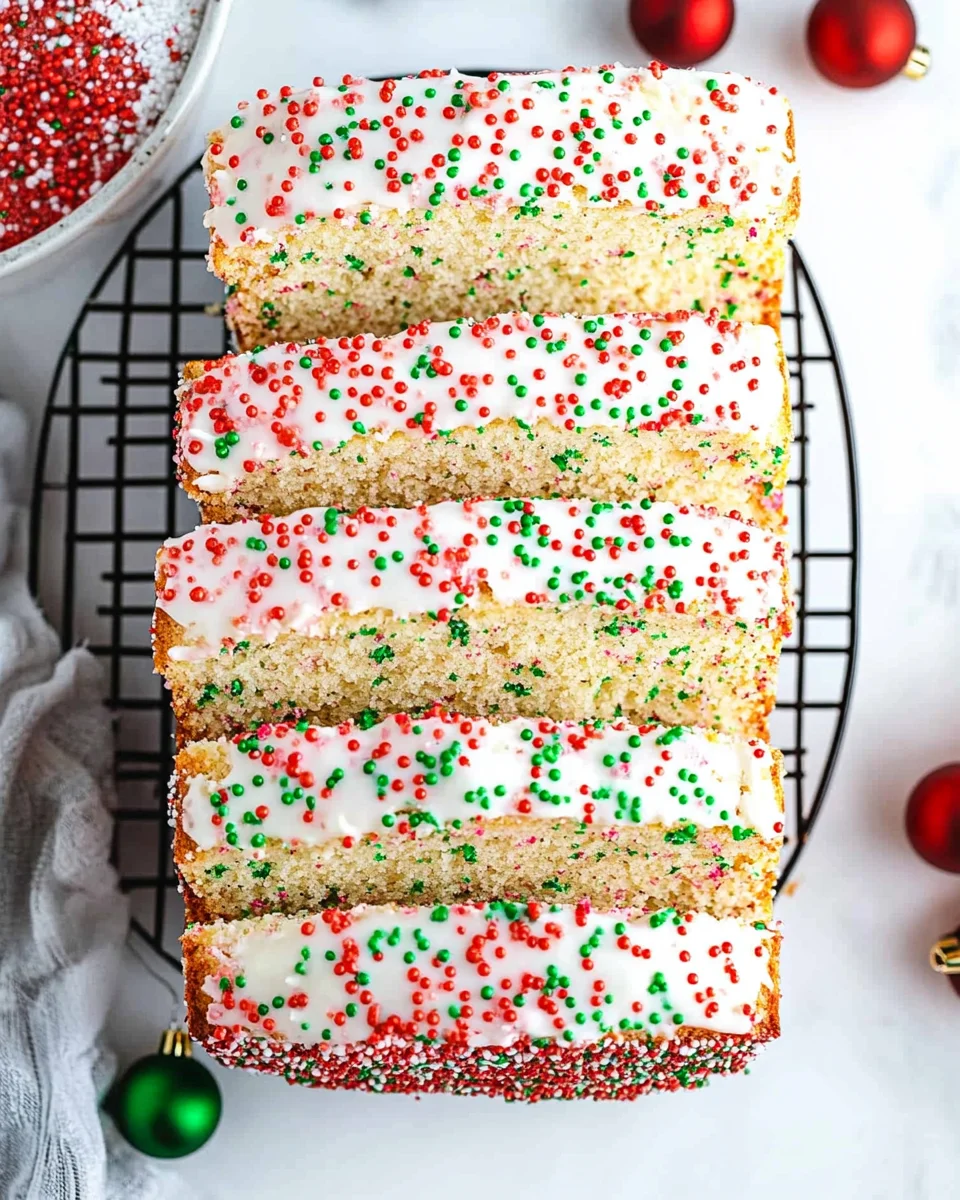
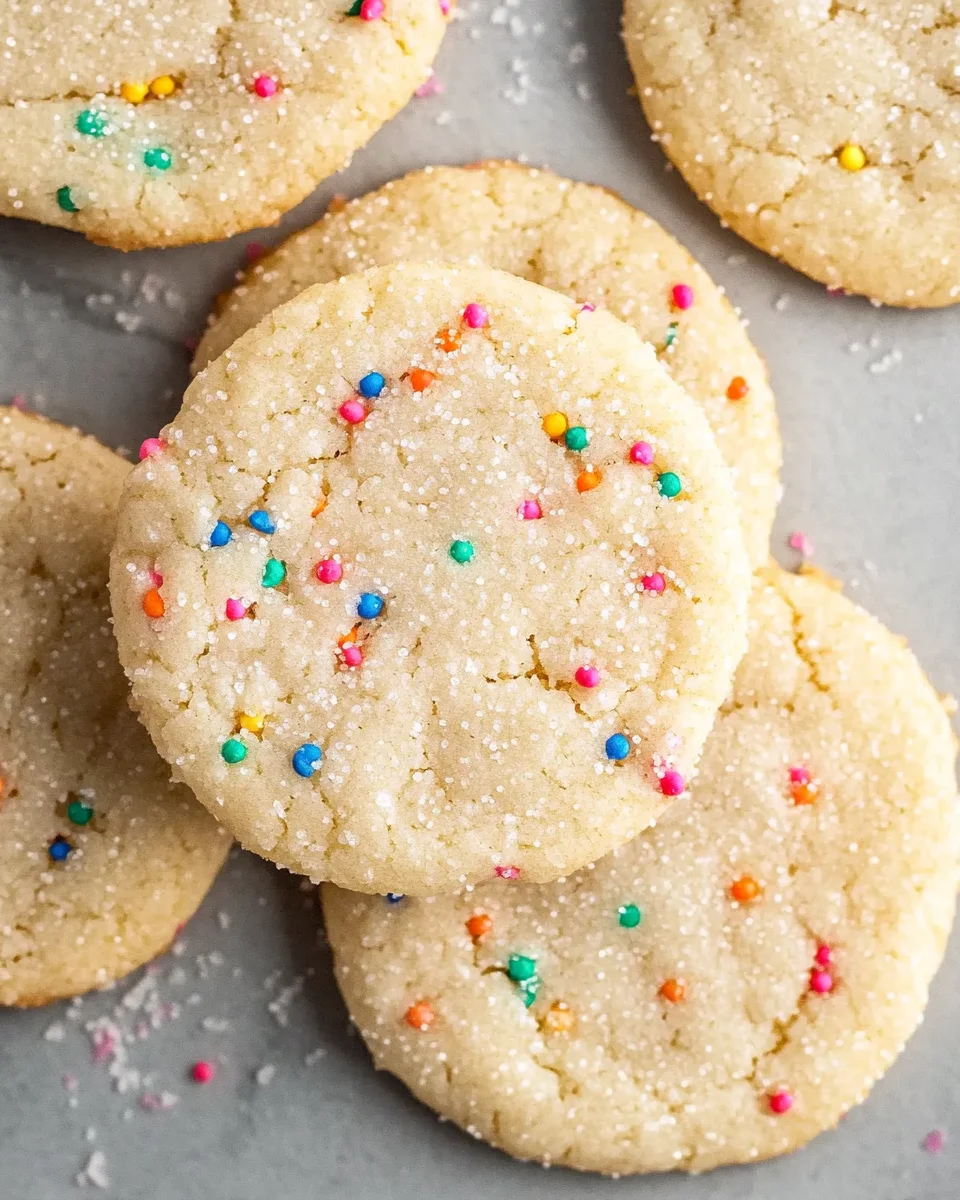
Sugar Cookie Icing That Hardens is essential for holiday baking and decorating! This icing not only hardens perfectly but also allows you to create beautiful designs on your sugar cookies. It’s perfect for various occasions, from Christmas to birthdays, and brings a fun touch to your baking experience.
Why You’ll Love This Recipe
- Quick to Prepare: With just 5 minutes of prep time, you can whip up this icing in no time.
- Versatile Colors: You can easily customize the icing with gel food coloring for every occasion.
- Perfectly Hardens: Once set, it creates a beautiful finish that keeps your designs intact.
- Simple Ingredients: Made from common pantry items, this recipe is easy to follow and accessible.
- Ideal for Any Occasion: Whether it’s Christmas or a birthday party, this icing will elevate your cookie game.
Tools and Preparation
Gathering the right tools makes the process smoother and more enjoyable. Below are the essential tools you’ll need to make Sugar Cookie Icing That Hardens.
Grab This Chef Knife Now - Almost Gone!
- Stays Razor-Sharp: Ice-hardened blade keeps its edge longer than ordinary knives
- Superior Grip Control: Unique finger hole design gives you perfect balance and safety
- Built to Last a Lifetime: Premium stainless steel blade with elegant beech wood handle
Customer Reviews ★★★★★
Essential Tools and Equipment
- Mixing bowl
- Sifter
- Whisk or spatula
- Small bowls (for coloring)
- Air-tight container
Importance of Each Tool
- Sifter: Ensures there are no lumps in the powdered sugar, leading to a smoother icing.
- Mixing Bowl: A medium/large bowl provides enough space to mix all ingredients thoroughly.
- Spatula: Helps in mixing the ingredients efficiently and scraping down the sides of the bowl.
Ingredients
For this simple yet delightful Sugar Cookie Icing That Hardens, you will need:
For the Icing
- 2 cup powdered sugar
- 1 & 1/2 tbsp corn syrup
- 1/2 tsp vanilla extract
- 1 & 1/2 tbsp milk or water (cold)
- gel food coloring
How to Make Sugar Cookie Icing That Hardens
Step 1: Sift the Powdered Sugar
Begin by sifting the powdered sugar into a medium or large mixing bowl. This step is crucial as it removes lumps that could affect the texture of your icing.
Step 2: Combine Ingredients
Add in corn syrup, vanilla extract, and milk or water. Using a whisk or spatula, stir vigorously until smooth. Make sure all ingredients are well combined.
Step 3: Adjust Consistency
If needed, add more milk gradually until you reach your desired consistency. The ideal icing should slowly fall off the spoon while leaving a thick layer behind.
Step 4: Color Your Icing
If you’re making different colors, divide the icing into smaller bowls. Add gel food coloring as desired and mix until you achieve vibrant hues.
Step 5: Decorate Your Cookies
Now you’re ready to decorate! Use your colored icings to create beautiful designs on your cookies. Allow them to set at room temperature before storing in an air-tight container.
Enjoy creating delightful treats with this Sugar Cookie Icing That Hardens!
How to Serve Sugar Cookie Icing That Hardens
Serving sugar cookie icing that hardens can elevate your decorated cookies for any occasion. Here are some fun and festive ideas to make your treats stand out.
Colorful Holiday Displays
- Use vibrant gel food coloring to create a rainbow of icings that will catch the eye.
- Arrange decorated cookies on a festive platter for a stunning centerpiece at holiday gatherings.
Themed Cookie Kits
- Package assorted cookies and icing in decorative bags, perfect for gifting or sharing with friends.
- Include simple decorating instructions to encourage creativity among recipients.
Cookie Decorating Parties
- Host a fun get-together where friends and family can decorate their own cookies.
- Provide various colors of icing and toppings for a delightful experience.
Seasonal Cookie Favors
- Create personalized cookie favors for events like weddings or baby showers using themed decorations.
- Wrap each cookie in clear bags tied with colorful ribbons for an elegant touch.
Gift Baskets
- Include jars of your sugar cookie icing that hardens in homemade gift baskets.
- Pair with baked goods and other treats for a thoughtful gift option.

How to Perfect Sugar Cookie Icing That Hardens
To achieve the best results with sugar cookie icing that hardens, follow these helpful tips.
- Sift powdered sugar: This ensures there are no lumps, creating a smooth icing texture.
- Adjust consistency: If your icing is too thick, add small amounts of milk or water until it reaches the desired flow.
- Keep it covered: When not in use, cover the bowls with plastic wrap to prevent the icing from drying out.
- Use gel food coloring: Gel colors provide vibrant hues without altering the consistency of your icing significantly.
- Let it dry properly: Allow decorated cookies to sit at room temperature until the icing is completely hardened before storing them away.
Best Side Dishes for Sugar Cookie Icing That Hardens
Pairing accompanying treats with your beautifully iced sugar cookies can enhance any dessert table. Here are some great side dishes to consider:
- Milk: A classic pairing that complements sweet cookies perfectly; serve chilled or warm.
- Hot Cocoa: Rich and comforting, hot cocoa adds warmth during cold seasons; top with marshmallows for extra flair.
- Fruit Platter: Fresh fruits like berries and citrus provide a refreshing contrast to the sweetness of cookies; arrange them colorfully for visual appeal.
- Cheese Board: A variety of cheeses can balance sugary treats; include nuts, fruits, and crackers for diversity.
- Coffee: Brewed coffee pairs well with dessert; offer flavored options like vanilla or hazelnut for variety.
- Ice Cream: Scoops of vanilla ice cream can create delicious cookie sandwiches; drizzle chocolate sauce on top for indulgence.
Common Mistakes to Avoid
When making Sugar Cookie Icing That Hardens, it’s essential to avoid common pitfalls to ensure your icing turns out perfectly.
- Incorrect Consistency: Not achieving the right consistency can lead to runny icing. To avoid this, aim for a smooth mix that slowly falls off the spoon but leaves a thick layer behind.
- Skipping Sifting: Failing to sift powdered sugar can result in lumps. Always sift before mixing to guarantee a smooth and flawless icing.
- Overmixing Ingredients: Mixing too much can create air bubbles in your icing. Stir just until combined for the best results.
- Ignoring Room Temperature: Using cold ingredients can affect how well the icing hardens. Ensure all components are at room temperature before starting.
- Neglecting Color Mixing: Adding too much gel food coloring at once can darken the icing excessively. Gradually add color until you reach your desired shade.

Storage & Reheating Instructions
Refrigerator Storage
- Store leftover icing in an airtight container.
- Use within 1 week for best quality.
- Keep it refrigerated to maintain freshness.
Freezing Sugar Cookie Icing That Hardens
- Freeze in an airtight container or freezer bag.
- Best used within 2-3 months for optimal flavor and texture.
- Thaw in the refrigerator before using again.
Reheating Sugar Cookie Icing That Hardens
- Oven: Preheat to a low setting (about 200°F) and place the container inside for several minutes, checking frequently.
- Microwave: Heat in short bursts of 5-10 seconds, stirring in between, until warm but not hot.
- Stovetop: Use a double boiler to gently warm, stirring constantly until it reaches the desired consistency.
Frequently Asked Questions
Here are some common questions about Sugar Cookie Icing That Hardens that might help you.
What is Sugar Cookie Icing That Hardens?
Sugar cookie icing that hardens is a royal icing variant made from powdered sugar that dries firm, allowing for beautiful designs on cookies.
How long does it take for the icing to harden?
Typically, this icing takes about 6-8 hours at room temperature to fully harden, depending on thickness and humidity levels.
Can I use this recipe for other types of cookies?
Yes! This icing works well on various cookies, not just sugar cookies, making it versatile for all your baking needs.
How do I achieve different colors with my icing?
You can achieve different colors by using gel food coloring. Start with small amounts and gradually add more until you reach your desired hue.
Is there a way to make this icing taste better?
Absolutely! You can enhance the flavor by substituting vanilla extract with almond extract or adding a touch of lemon juice for a fresh taste.
Final Thoughts
This Sugar Cookie Icing That Hardens recipe is not only easy but also delicious. It allows you to create stunning designs while ensuring your cookies stay fresh longer. Feel free to customize colors and flavors based on your preference. Enjoy decorating and delight in your beautiful creations!

Sugar Cookie Icing That Hardens
- Total Time: 0 hours
- Yield: Approximately 12 servings (1 tablespoon each) 1x
Description
Sugar Cookie Icing That Hardens is your go-to recipe for transforming ordinary cookies into festive masterpieces! This simple icing not only dries firm, allowing for intricate designs, but it also enhances the visual appeal of your treats for any occasion—from holiday gatherings to birthday parties. With just a few basic ingredients and easy-to-follow steps, you can create vibrant colors and stunning decorations that will impress family and friends. Elevate your baking game and enjoy the delightful experience of decorating with this quick-drying icing!
Ingredients
- 2 cups powdered sugar
- 1.5 tbsp corn syrup
- 0.5 tsp vanilla extract
- 1.5 tbsp cold milk or water
- Gel food coloring (optional)
Instructions
- Sift the powdered sugar into a mixing bowl to remove lumps.
- Add corn syrup, vanilla extract, and milk or water. Mix thoroughly until smooth.
- Adjust consistency by adding more milk gradually if needed; aim for a thick layer that slowly falls off the spoon.
- Divide icing into small bowls for coloring, adding gel food coloring as desired.
- Decorate your cookies and let them set at room temperature before storing in an airtight container.
- Prep Time: 5 minutes
- Cook Time: N/A
- Category: Dessert
- Method: N/A
- Cuisine: N/A
Nutrition
- Serving Size: 1 tablespoon (15g)
- Calories: 60
- Sugar: 15g
- Sodium: 0mg
- Fat: 0g
- Saturated Fat: 0g
- Unsaturated Fat: 0g
- Trans Fat: 0g
- Carbohydrates: 15g
- Fiber: 0g
- Protein: 0g
- Cholesterol: 0mg

